Intoduction
As a team of home growers ourselves, we know firsthand the challenges and frustrations that come with trying to maintain a healthy hydroponic system.
That’s why we founded Growee, to make hydroponics easy and accessible to everyone.
But we also know that industrial inline setups can be expensive, which is why we’ve created this eBook, to show you how to build your own for under $50.
Not only is this a cost-effective solution, but it’s also a great opportunity to customize your setup to meet your specific needs.
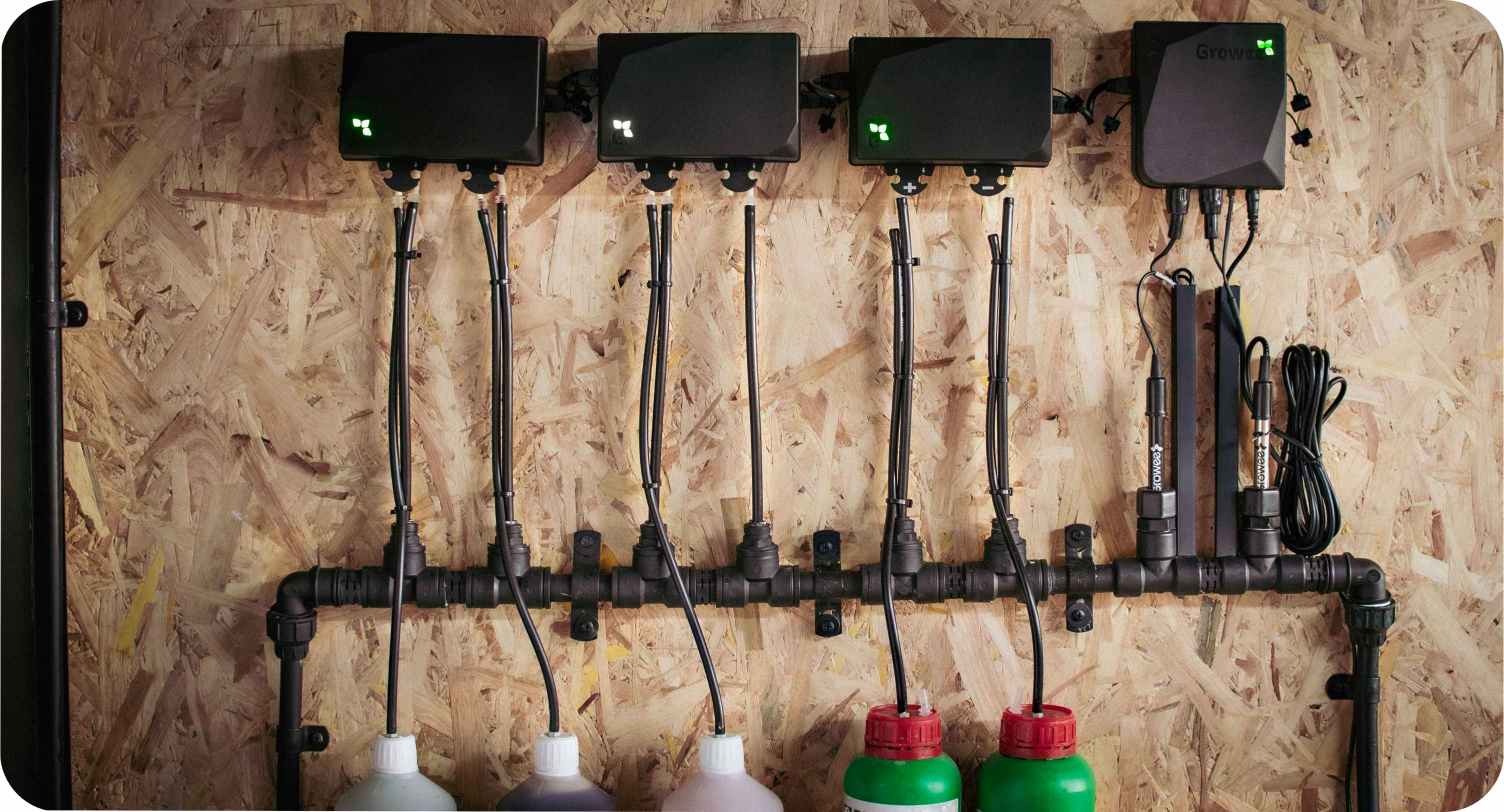
In this guide, we’ll walk you through the simple process of building a recycled inline setup that will give your grow room a clean, organized look.
Idan Avitan, CEO, Growee

See How Growee Can Save You Time By Automating Your Plants Feeding
Water pH – Automated pH Up and Down Control
Nutrients Mixing – Automated Nutrient Dosing with Target EC / PPM Control.
Control From Anywhere – WiFi Connection and mobile App
Highlights
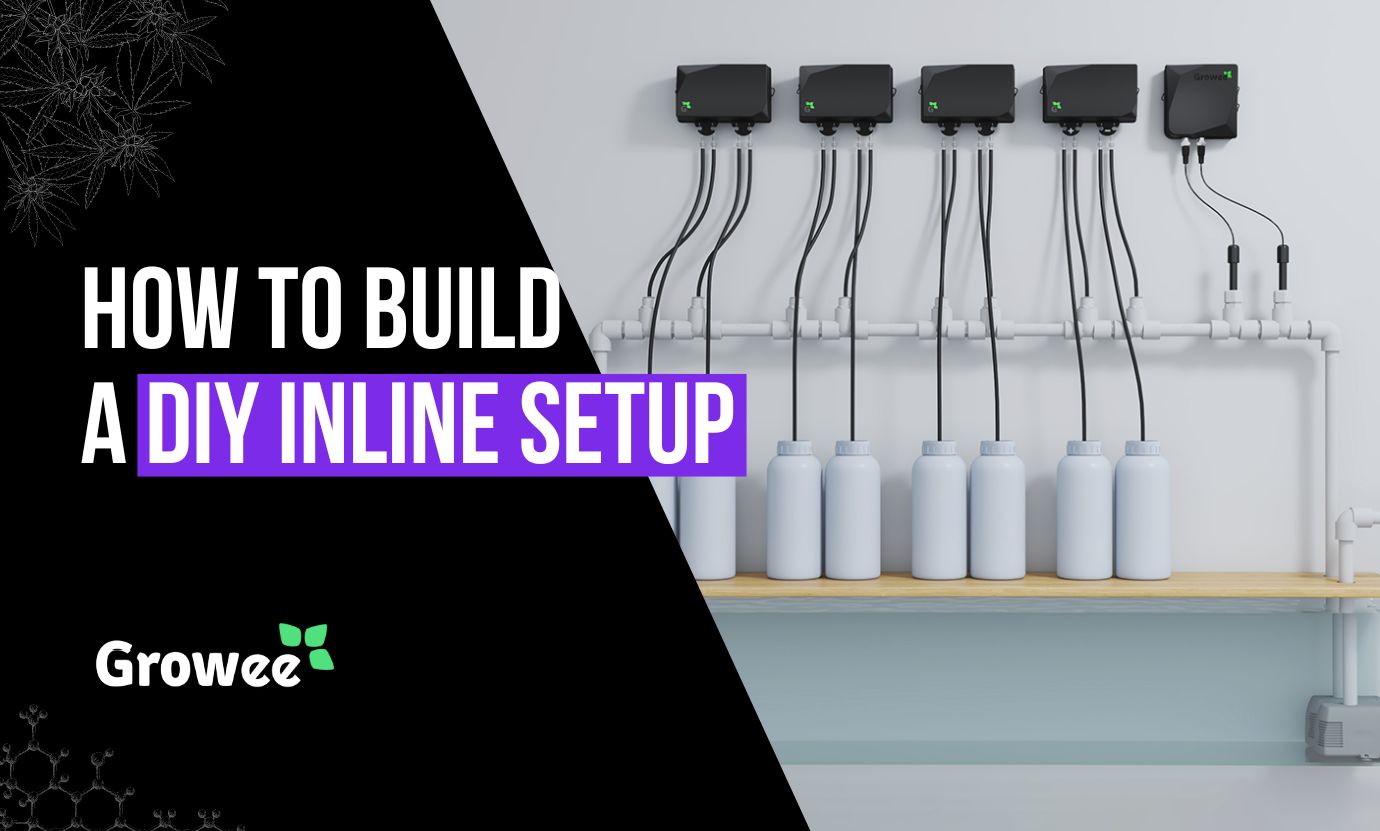
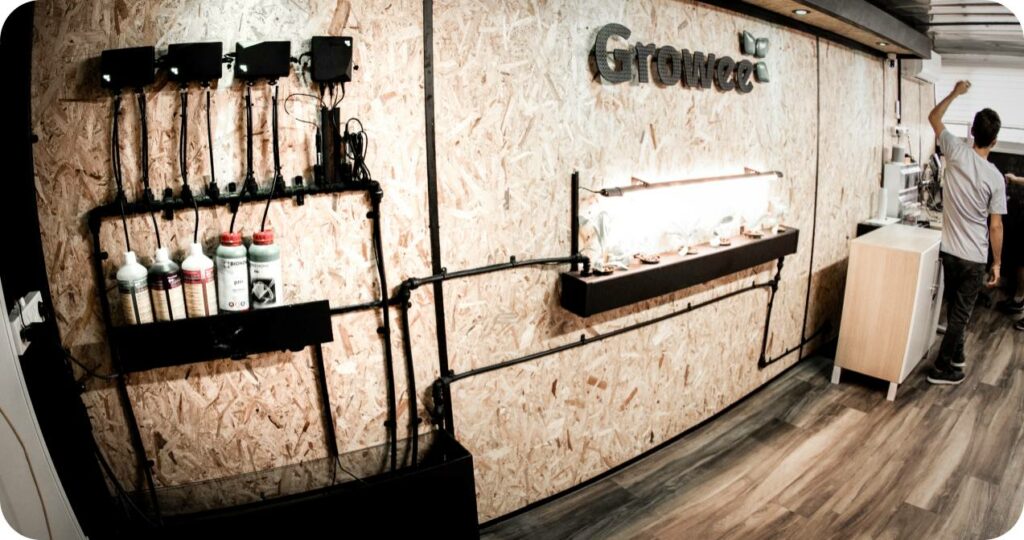
A full inline system consists of a main reservoir of water with a submersible pump at the bottom that pumps water through a tube with probes and injectors connected to it for monitoring and injecting into the water. The water then returns back to the reservoir
in a continuous cycle.
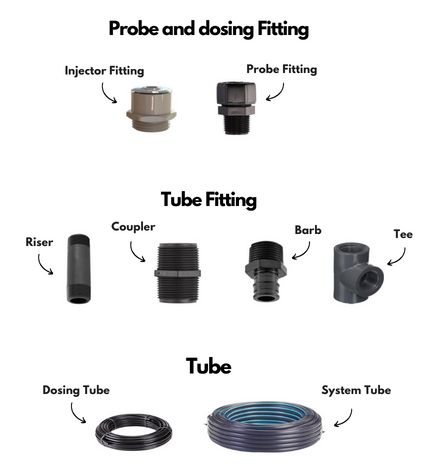
The system has three main sections:
- Pumping water from the reservoir to the “manifold”
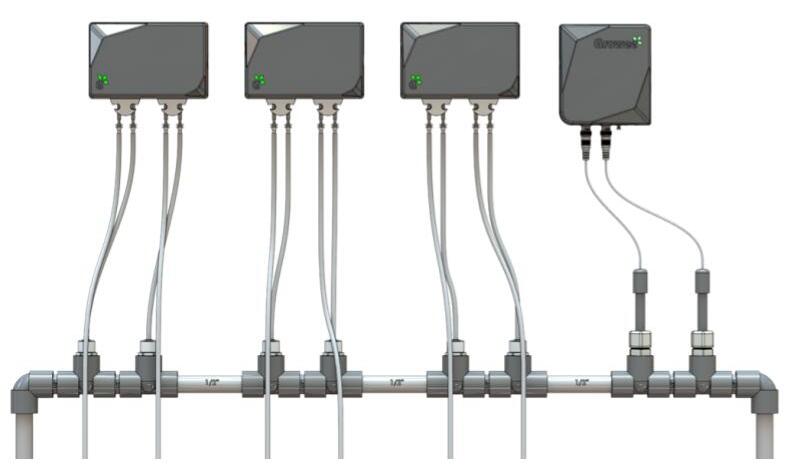
- The “manifold” – fittings for probes and injectors
- Getting the water back from the manifold to the reservoir
Part List
To build an inline setup for dosing nutrients and monitoring pH, you will need the following parts, all for
a PVC 3/4″ thread:
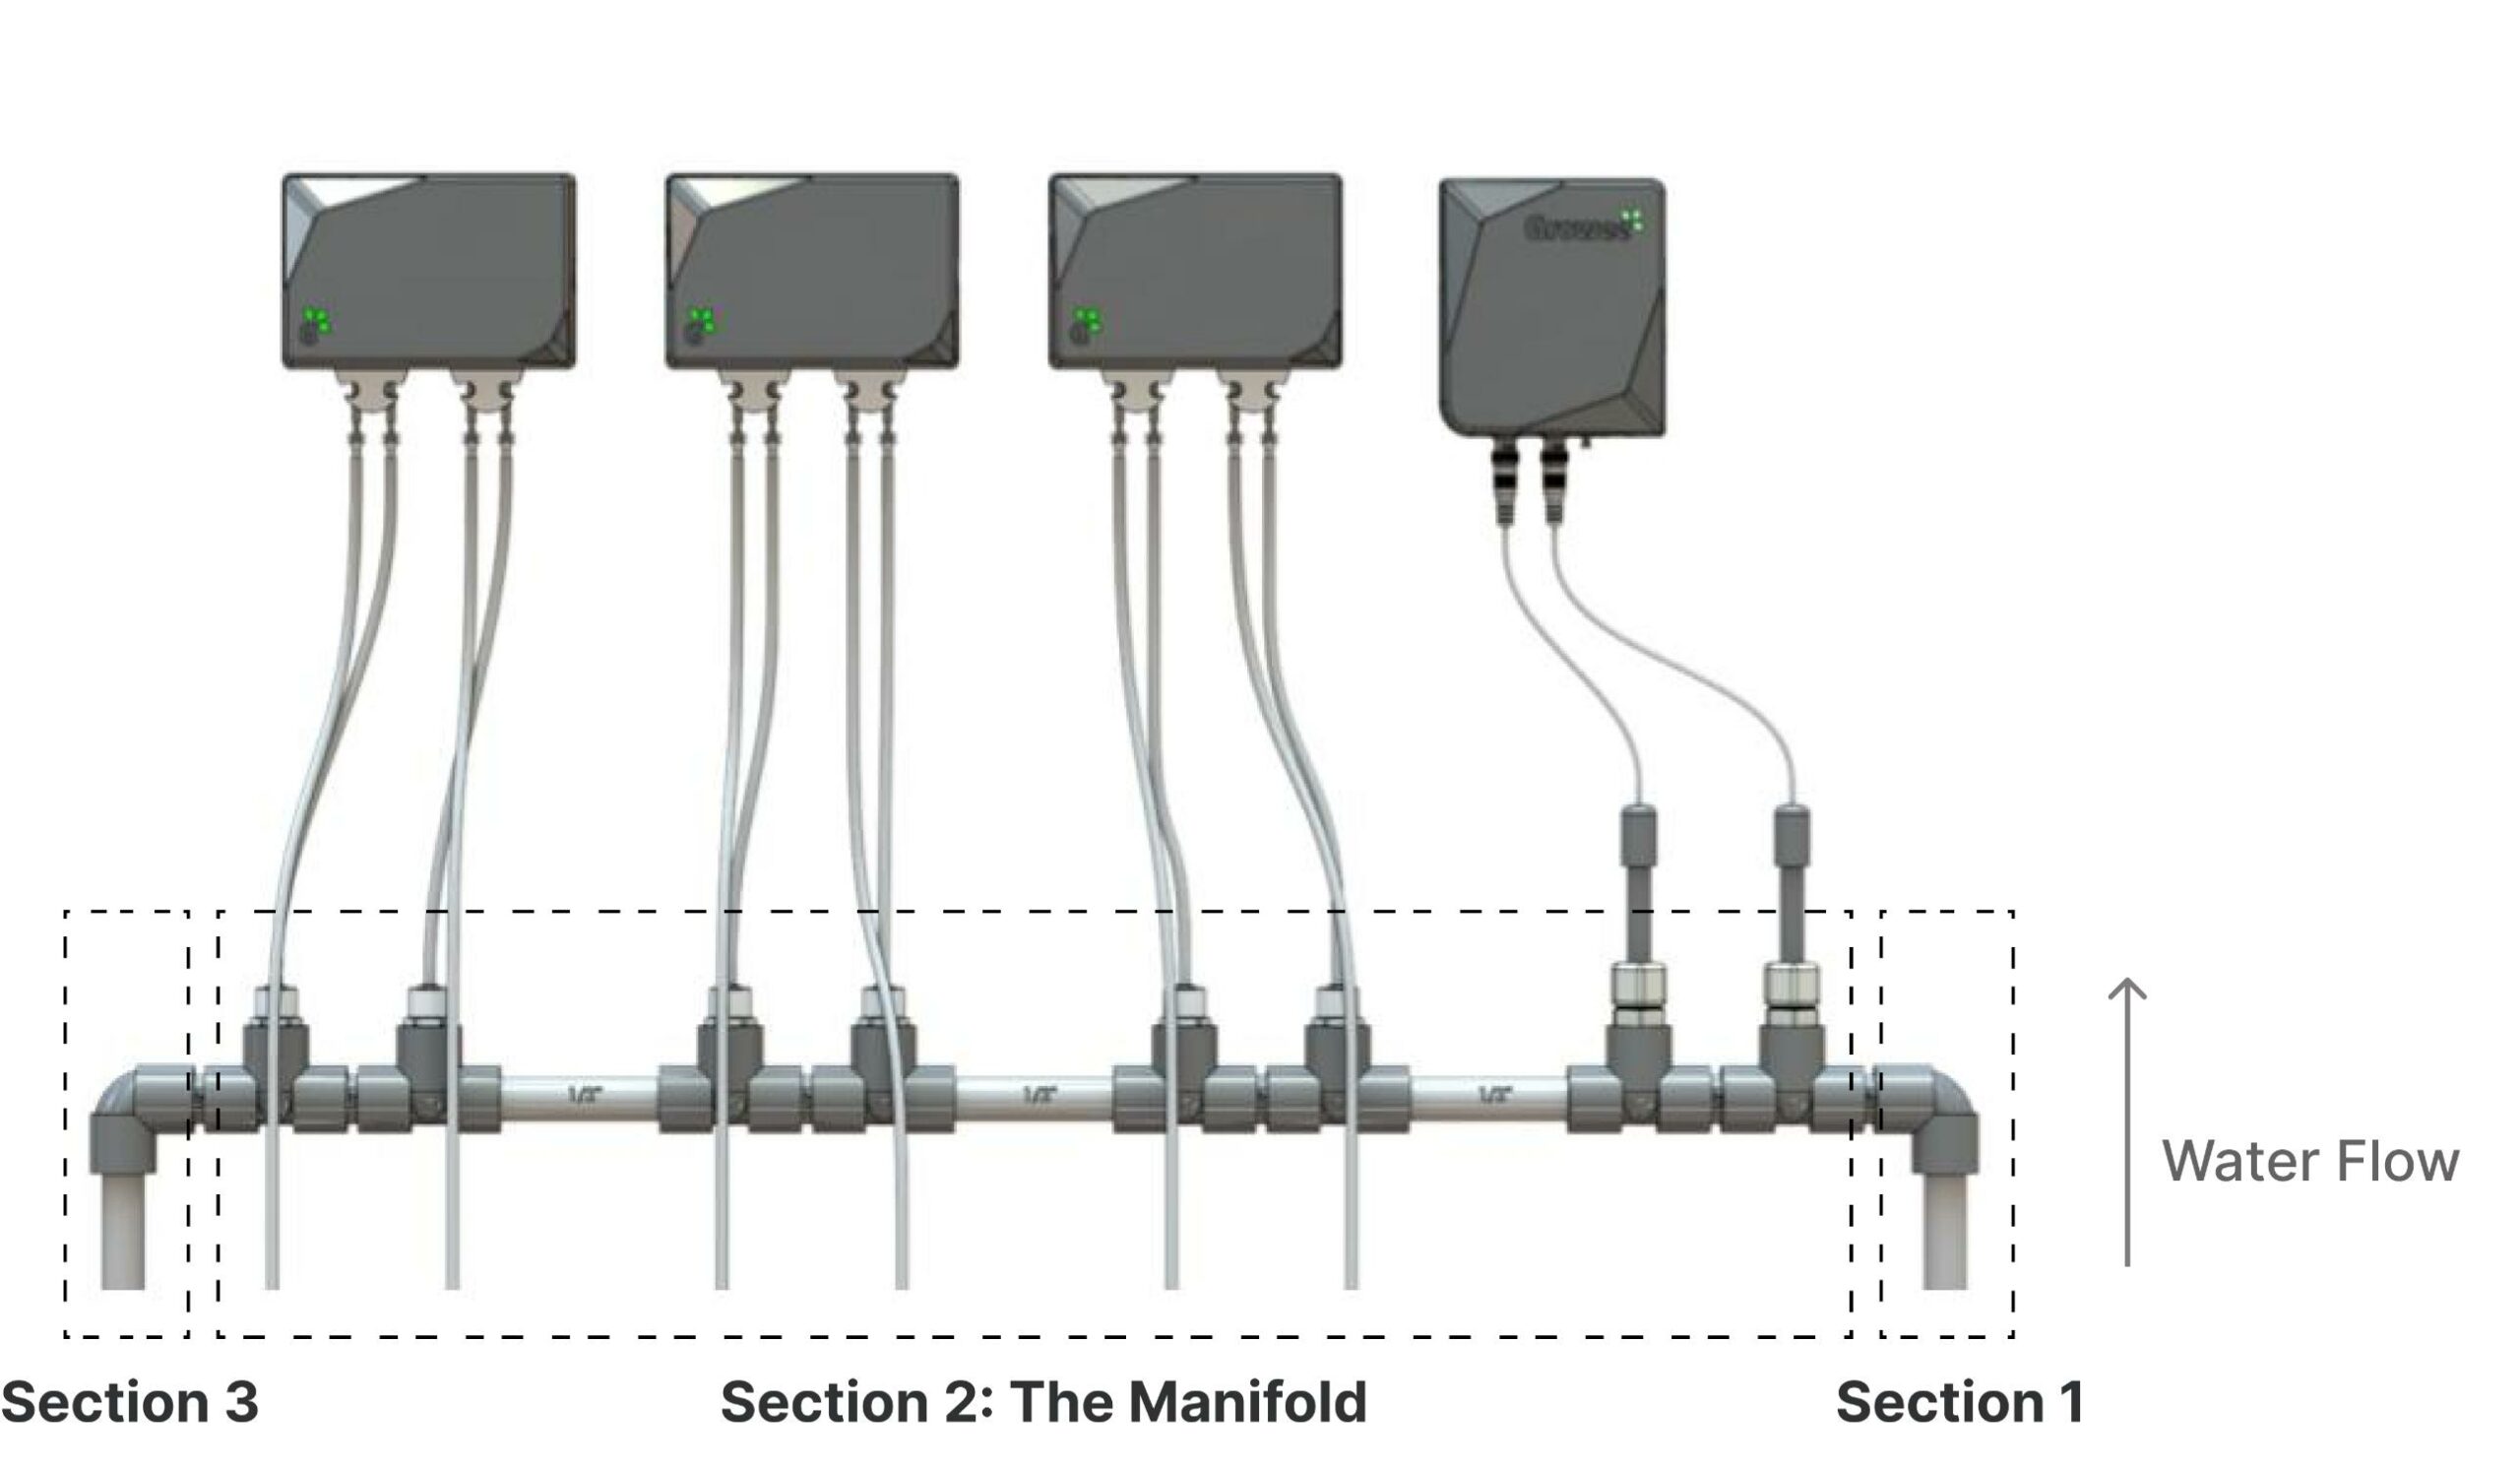
- System Tube – Fiexible tubing for gardening
- Barb – Fitting with Male Thread to Barb
- Elbow -Elbow with Female threads
- Coupler – Nipple Male fitting Coupler
- Riser – 6-inch Male thread Riser
- Probe Fitting + Tee – Compression Fitting with Male thread
- Injector Fitting 1/2″ thread – 1/4″ OD tube Quick Connector – connect to the manifold using the 1/2″ to 3/4″ adaptor
- Dosers Tubing – 1/4“ drip irrigation tubing
- Tube clamp – for holding the injection tubes in place
Detailed Assembly guide
Section 1: Pumping Water from the Reservoir to the “Manifold”
The first step in building your iniine setup is to connect the tube to the submersible pump, which will be placed at the bottom of the reservoir.
- Connect one end of the tube to the submersible
- Connect the other end of the tube to the eibow using the
Section 2 “The Manifold” Fittings for Probes and injectors
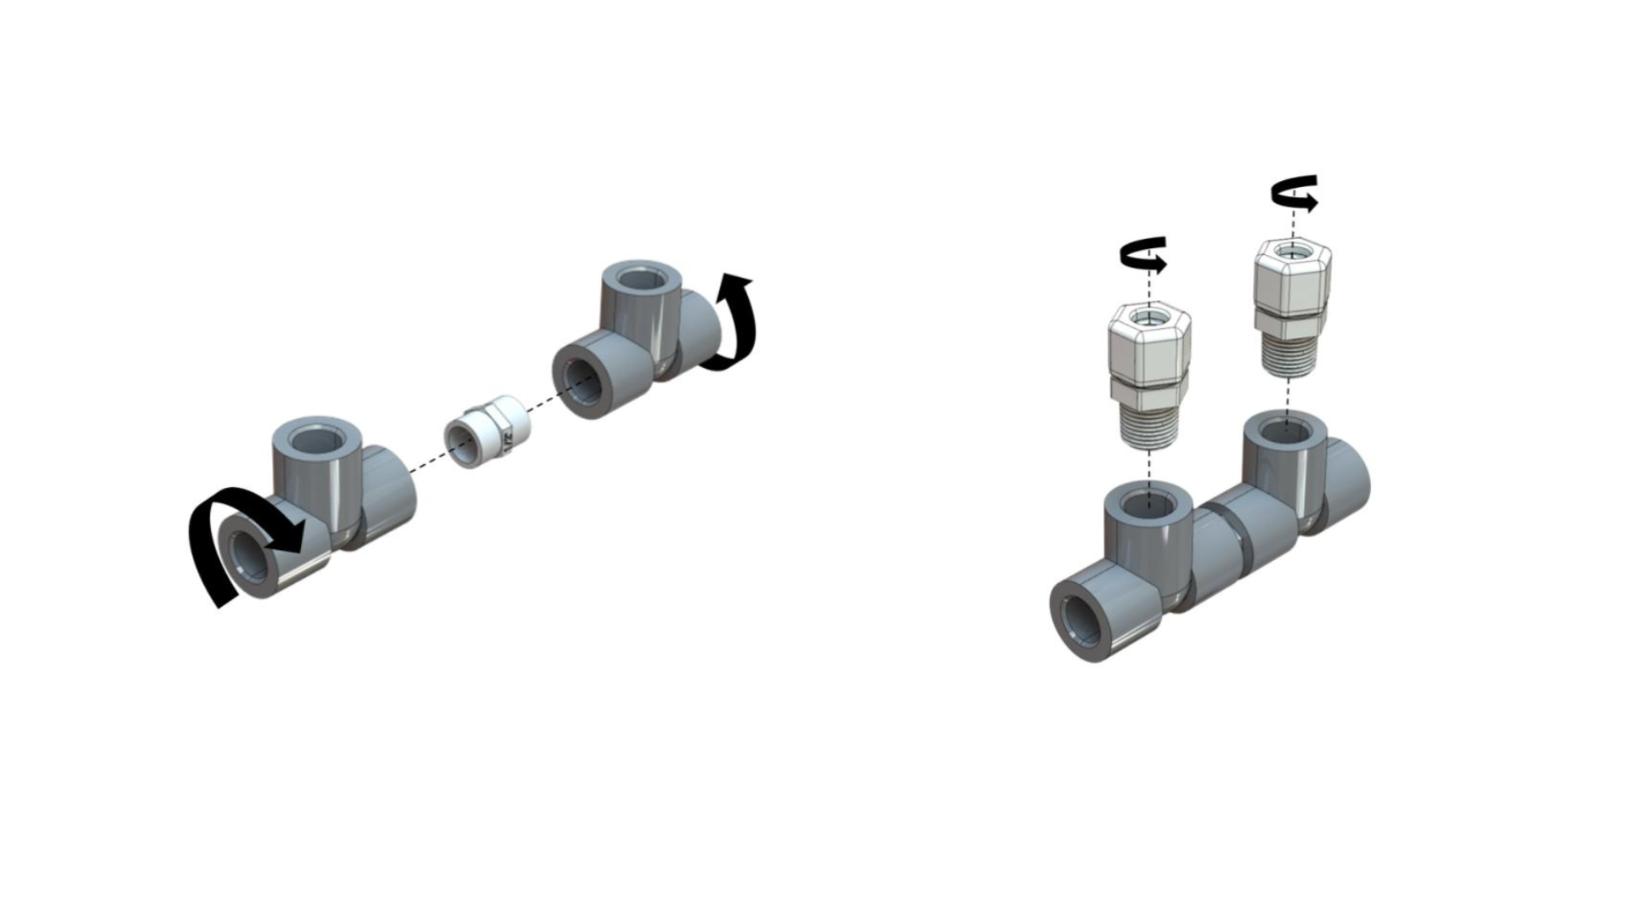
The “manifold is the central hub of your inline setup, where all the probes and injectors are connected to the main water flow.
To build the manifold, you wiii need to follow these steps
Probe sections:
- Connect the Eibow from the previous section to the Tee using the coupler
- Connect the Probe Fitting to the Tee
- Repeat for the second probe
Injectors section:
- For each Growee Doser connect a pair of “Tees using” the Coupier
- Between each pair connect a Riser
- Connect an “Injector Fitting to each “Tee”.
Section 3: Connecting the Manifold to the Back of the Reservoir
To complete the inline setup, you will need to connect the manifold to the back of the reservoir. This will allow
the water to be pumped back into the reservoir using the submersible pump.
To do this, follow these steps:
- Connect the end of the manifold, the last Tee to an Elbow using a Coupler, the elbow should be pointing down.
- Connect the other side of the elbow to the barb using a coupler.
- Connect the Tube to the Barb. The tube should be long enough to reach the bottom of the reservoir.
This guide is provided for informational purposes only and is not intended as a substitute for professional advice. The reader is solely responsible for their own actions and any consequences that may result from following the information in this guide. Growee is not responsible for any actions taken or consequences that may result from following the information in this guide.
©All rights reserved to Growee Technologies ltd

